
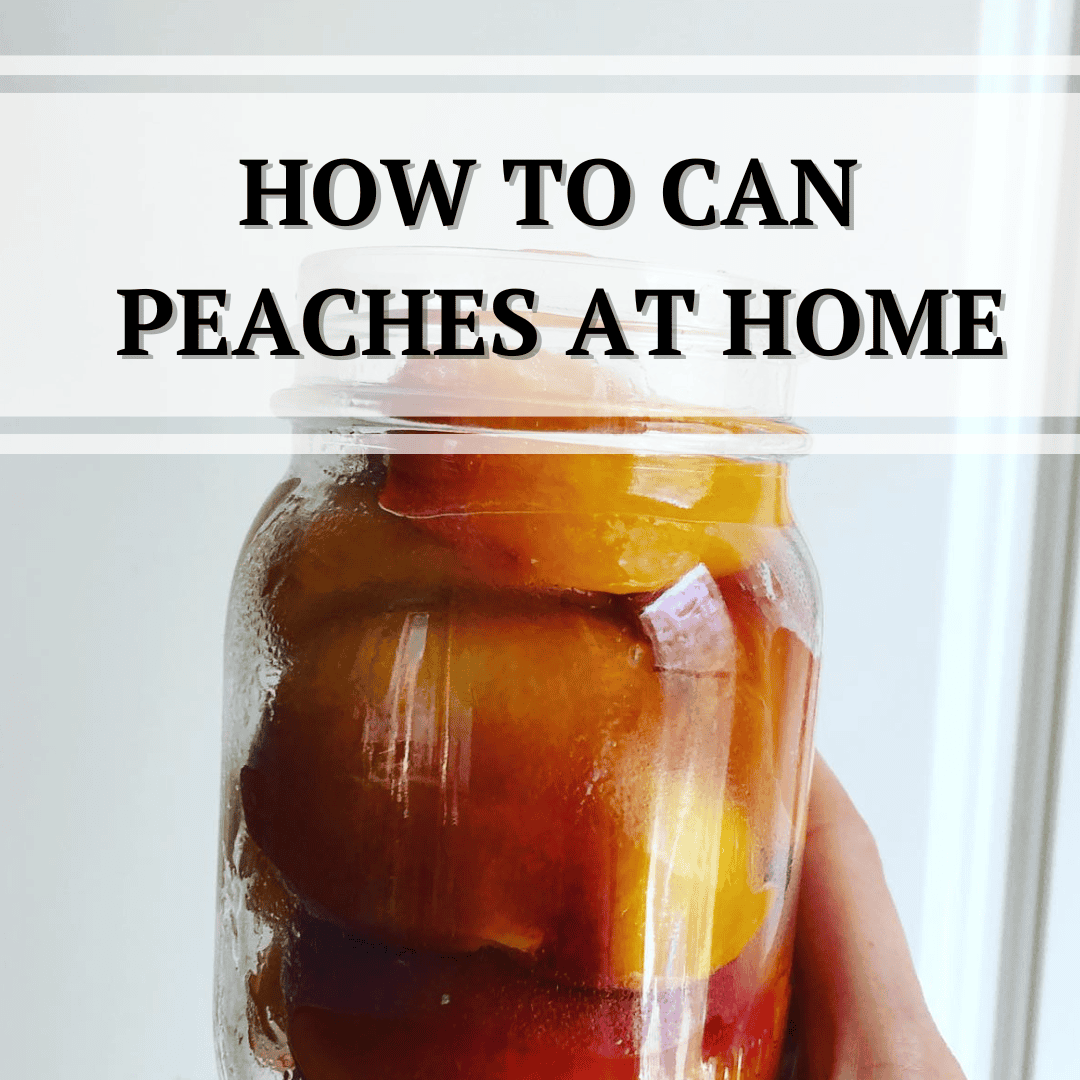
Few things taste like summer more than a jar of golden, juicy peaches. Canning them lets you enjoy that flavor all year long—spooned over yogurt, baked into cobblers, or served chilled straight from the fridge.
The process may sound intimidating at first, but once you understand the steps, it’s surprisingly simple.
With the right equipment, clean jars, and a bit of patience, you can stock your pantry with beautiful jars of peaches that taste like sunshine in winter.
Choosing the Best Peaches for Canning
When it comes to canning peaches, not all varieties are created equal.
Freestone peaches are the easiest to work with because the pits pop right out. Look for varieties like Elberta, Redhaven, or Cresthaven. These hold their shape well and have the perfect balance of sweetness and acidity.

Avoid overripe or bruised fruit—those tend to turn mushy after processing. Instead, choose peaches that are firm yet fragrant, with just a little give when pressed.
If you only have clingstone peaches, don’t worry. They work fine, too; you’ll just need to slice carefully around the pit.
Hot Pack vs. Raw Pack Canning
Hot Pack Method
In the hot pack method, you briefly cook the peeled peach slices in syrup before packing them into jars.
- This method helps remove air from the fruit, resulting in better color, flavor, and shelf stability.
- The peaches also shrink slightly during heating, allowing you to fit more in each jar.

Raw Pack Method
The raw pack method involves placing raw, peeled peaches directly into jars and pouring hot syrup over them.
- It’s faster but can lead to more floating fruit and slightly less vibrant color.
- This method works well if you plan to eat the peaches within a few months or don’t mind a softer texture.
Tip: If you’re canning for long-term storage or giving jars as gifts, go with the hot pack. It produces a more consistent result.
Preparing the Syrup
The syrup doesn’t just sweeten; it helps preserve the peaches’ color and texture. You can adjust the sweetness level to your liking:
Syrup Ratios (per 4 cups of water)
- Light Syrup: 2 cups sugar
- Medium Syrup: 3 cups sugar
- Heavy Syrup: 4 cups sugar
To make, bring water and sugar to a boil, stirring until dissolved. Keep the syrup hot while you prepare the peaches.
You can also replace some sugar with honey for a natural flavor, or add a few tablespoons of brandy, bourbon, or vanilla extract for an elegant twist.
Equipment You’ll Need
Before starting, make sure you have everything ready:
- Large pot or water bath canner
- Canning jars with new lids and rings
- Jar lifter and funnel
- Ladle and tongs
- Large bowl for peeling peaches
- Ice water for blanching
- Clean towels

If you don’t have a canner, use a deep stockpot with a rack or towel at the bottom to keep jars from touching the base. The goal is to keep jars submerged with at least an inch of water above them during processing.
Recipe Variations and Flavor Ideas
Canned peaches are delicious on their own, but you can customize them easily:
Classic Vanilla Peaches
Add half a teaspoon of vanilla extract or a vanilla bean segment to each jar before sealing.
Spiced Peaches
Tuck in a cinnamon stick, a few whole cloves, or a strip of orange peel for warm, comforting flavor.
Boozy Peaches
A splash of bourbon, brandy, or rum adds depth and makes for a grown-up dessert topping. (The alcohol cooks off during processing but leaves great flavor.)
Honey Syrup
Replace some or all of the sugar with honey for a more floral, less sweet syrup.
Even without fancy equipment or expensive ingredients, you can make beautiful jars of peaches that fit your taste.
Storing and Shelf Life
Once processed, let the jars cool completely. Check that the lids are sealed; they should not flex up and down when pressed.
Store in a cool, dark place like a pantry or cupboard. Properly canned peaches last up to 18 months. Once opened, refrigerate and use within a week.
If a jar doesn’t seal properly, don’t toss it. Just refrigerate it and enjoy the peaches within a few days.
Frequently Asked Questions
Do I have to peel peaches before canning?
Yes, it’s best to peel them. The skins can toughen and slip off in the jar, making the texture uneven.
How do I peel peaches easily?
Blanch peaches in boiling water for 30–45 seconds, then transfer to ice water. The skins will slide right off.
Can I can peaches without sugar?
Yes, you can use water or fruit juice instead of syrup. The peaches will be less sweet but still safe to preserve.
How long do I process jars for?
In a boiling water bath, process pint jars for 20 minutes and quart jars for 25 minutes (adjust for altitude as needed).
Can I reuse canning lids?
No, always use new lids. The sealing compound is designed for one-time use only.
How to Can Peaches at Home (Hot Pack Method)
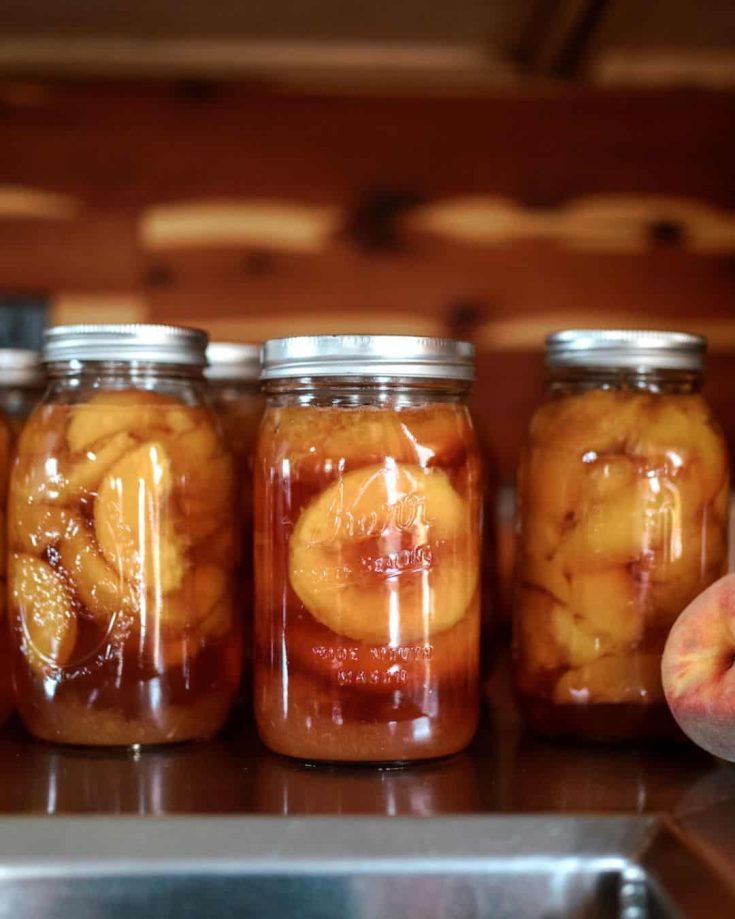
Image credit: @creativecanning
Ingredients
For the Syrup
- 8 cups water
- 4 cups sugar (for medium syrup)
For the Peaches
- 8–10 ripe but firm peaches per quart jar (Freestone preferred)
- 1 tbsp lemon juice per quart jar (optional, helps preserve color)
Instructions
- Prep the peaches. Bring a large pot of water to a boil. Blanch peaches for 30–45 seconds, then transfer to ice water. Slip off the skins, halve, and pit.
- Make the syrup. Combine water and sugar in a saucepan and bring to a simmer until sugar dissolves. Keep hot.
- Hot pack the peaches. Add peach halves to the syrup and simmer for 3–4 minutes. Pack them into hot, sterilized jars using a funnel.
- Add syrup and flavorings. Pour hot syrup over peaches, leaving ½ inch headspace. Add optional flavorings if desired.
- Remove air bubbles. Run a knife or bubble remover around the inside of the jar. Wipe rims and secure lids and bands.
- Process the jars. Place jars in a boiling water bath, ensuring they’re fully submerged. Process pints for 20 minutes or quarts for 25 minutes.
- Cool and store. Remove jars and let cool for 12–24 hours. Check seals before labeling and storing in a cool, dark place.
Featured image credit: @camillawynne